This article touches on managing snow on synthetic slate shingles as observed from our snow guard performance testing facility in Morrisville, Vermont between mid-January – early March, 2020. We will follow up with reports on composition shingles, corrugated metal, slate and tile, membrane and solar panels.
Winter conditions in the eastern region of the U.S. have been relatively mild this winter. I’m a little cautious as I write this article. Last year, the Midwest and eastern regions of the U.S. received wet, heavy snowfall in March and April. Snowfall that was very liquid or viscus compared to what we have experienced to date this year.
Managing Snow on Synthetic Slate Shingles
Our research compares snow management system performance on three different roof types (side-by-side, all on one structure), you may recall that the building is a salt box design with a 7/12 pitch on one side and a 12/12 pitch on the other. The 7/12 pitch faces Northwest, while the 12/12 pitch faces Southeast. One roof area is synthetic slate shingles, the second area is composition shingles and the third area is corrugated metal.
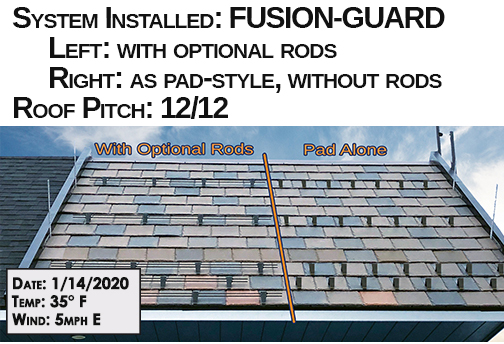
Synthetic Shingle Installation Layouts
In the above layout, we divided the synthetic shingle portion on the 12/12 pitch into two different installation layouts using our new Fusion-Guard system. At left, Fusion-Guard “pad-style” snow guards spaced 24” on center with optional rod detail to create a mini pipe-style system. At right, European layout approach, using Fusion-Guard pads only, with a 12” spacing.
Notice the aesthetic difference in the 1/14/2020 image above. The pads on the left, spaced 24” on center, have snow rods running between them, which are barely visible. The pads on the right do not have rods connecting them. They seem much more visible due to the tight 12” on center spacing,
Snow Guard Performance Research: Managing Snow on Synthetic Slate Shingles
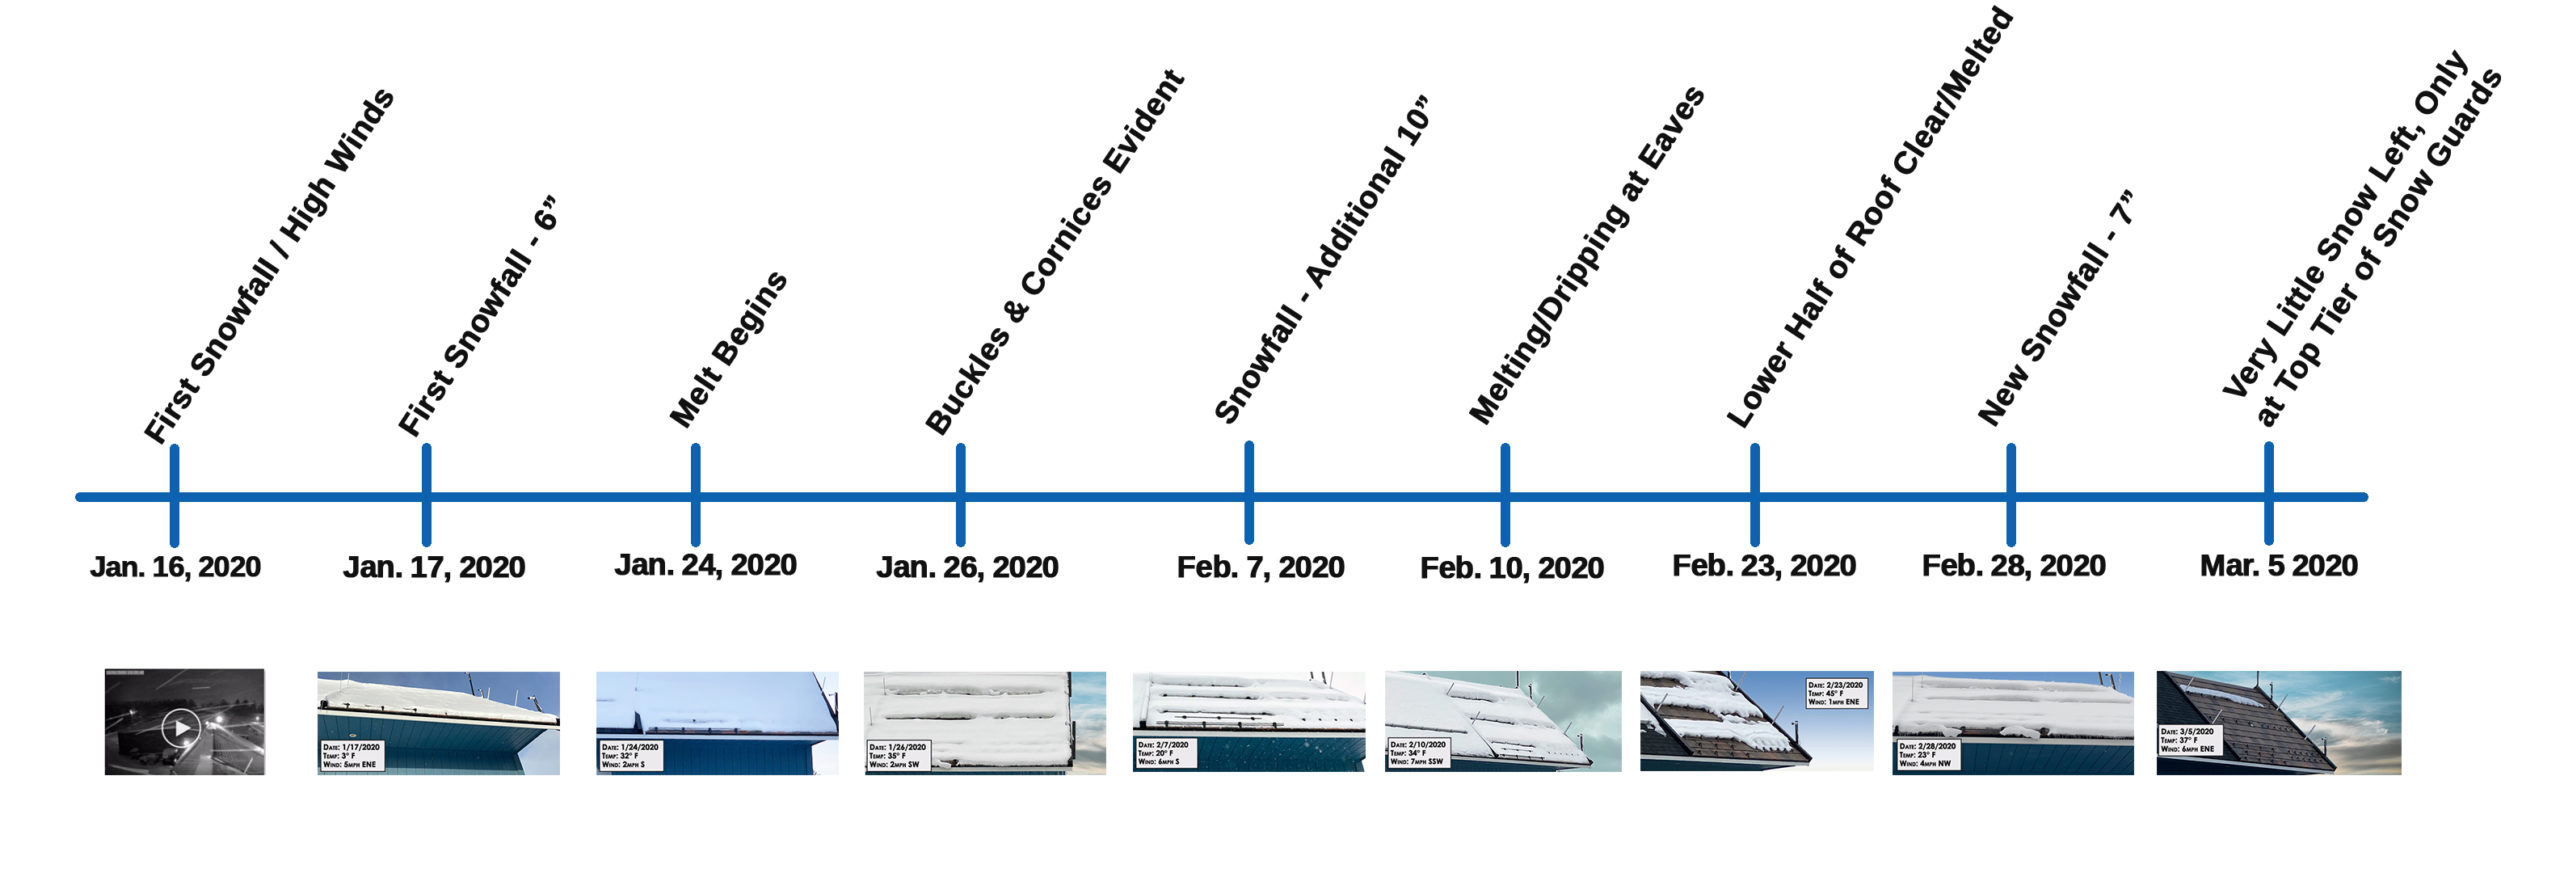
January 16
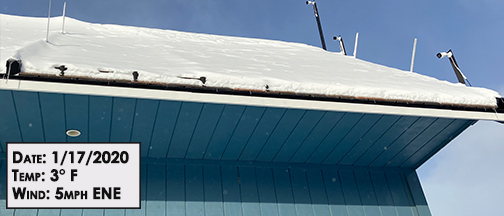
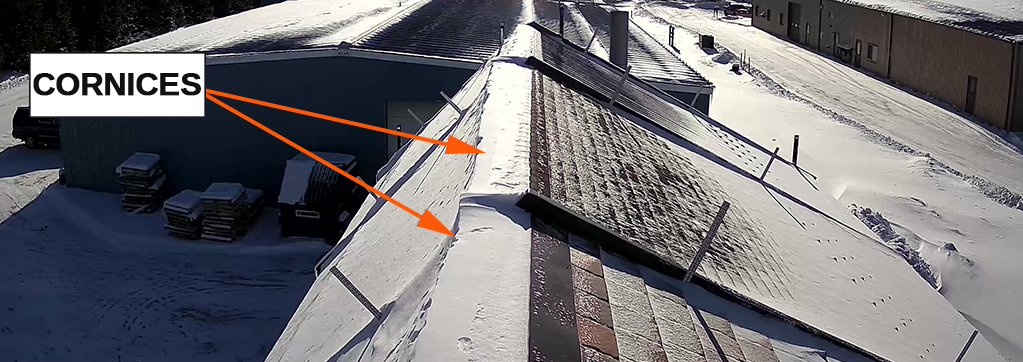
On the night of January 16, we received 6” of light snow accompanied by high winds out of the west. The wind lifted and transferred most of the snow on the 7/12 pitch side over the peak of the building. It redepositing it onto the 12/12 pitch side as seen in the video clip above. You’ll notice in the video that the peak of the roof is visible. The drifting snow accumulated into a nearly 12” deep cornice near the peak. Below this cornice, the snow accumulation is more even in depth, but tapers slightly to less accumulation towards the eaves.
January 24

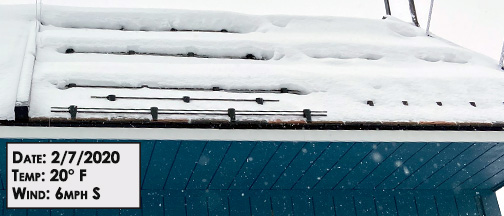
February 7
February 10 and February 23

February 28

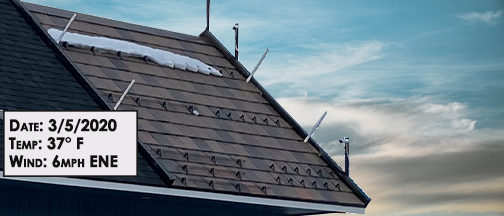
March 5
Observations & Theories
Testing a Non-Traditional Snow Guard Layout
Notice the Fusion-Guards installed with rods on the left side were somewhat exposed in February 7 image above. We have several theories about this:
- The guards on this side were installed on top of the first course of shingles. This is a significant departure from traditional snow guard layouts that start on top of the 3rd row of shingles. When Alpine started back in the early 90’s, we were focused on natural slate (see our “About Us” page). We were concerned about cantilevered loads on old slate roofs and ice damming on poorly insulated and ventilated structures. We set the industry standard of placement on the 3rd course of slate shingles that all snow guard manufacturers follow.
- Synthetic shingles are typically being installed on buildings that are designed to meet building codes for snow loads. This means they’re designed to handle the accumulated weight at the eaves. In addition, most of these projects are properly insulated, properly ventilated. They have the added protection of Ice and Water Shield under the shingles to protect the structure if ice damming should occur. Therefore, why not install snow guards closer to the eaves on roofing materials other than slate and tile? This would certainly be an advantage to building owners.
Testing a Traditional Snow Guard Layout
- The Fusion-Guard pads on the right side were installed on top of the 2nd course of shingles to test a more traditional approach. The butt of the Fusion-Guards on the left side (sitting essentially at the eaves) became exposed within a day, as snow fell away at the eaves. This started an interesting and unexpected melt at the eaves, as the snow guards began to absorb solar radiation.
- Notice the wide soffit on the mock-up. This building was constructed using trusses that were engineered to meet the local building code (70 psf ground snow load). There was no issue with cantilevered loads.
- We believe that the Fusion-Guard system on the left side of the mock-up (the system connected with rods) has experienced thermal transfer due to the system being exposed at the eave and interconnected by rails. You’ll notice in the timeline of photos that follow, that this becomes more evident over time.
Both Snow Guard Layouts Prevented Avalanching Ice & Snow
During the last week of February and into the first week of March, temperatures rose in our area, with a high reaching 51° Fahrenheit. In addition, rain fell on top of the existing snow mass, transforming it into an even wetter, heavier, concentrated accumulation of snow and ice. At no point did we witness a sudden release of snow or ice from either of the snow guard installation layout techniques used on this synthetic slate, 12/12 pitch mock-up.
Based on the snowfall events and temperature swings we documented during the month of February and extending into early March 2020, it’s our conclusion that both of the snow guard installation layout techniques employed on this mock-up were nearly 100% effective, given the type of snowfall and winter conditions experienced during this time period.
Conclusion: Best Performing Snow Guard Layout for Managing Snow on Synthetic Slate Shingles
It’s important to understand that snow varies in density. It’s likely that a late winter, wet, heavy snow would have behaved differently on these two installation methods. We believe that the initial light, compacted snow formed a bridging layer of snow mass around the guards on both sides of the mock-up. It could be argued that the conditions we experienced in January and February were ideal. We have not yet experienced a wet, heavy snowfall event like the event that blanketed the central and eastern regions of the U.S. last April.
The Fusion-Guard system, with pads spaced 24” on center, and with rods connecting the pads, will perform better in a wet, heavy snowfall event on a roof that has no accumulated mass that has bridged.
Customer Layout Preference & Affordability
Customer feedback suggests that the 24” pad spacing is far more attractive than the 12” pad spacing incorporated in the European approach, as shown on the right side of the roof. In addition, the 24” spacing averages 12 pads per roofing square (10’ x 10’ roof area) vs. the European approach, which averages 30 pads per roofing square on a 12/12 pitch. Obviously the 24” spacing (12 guards per square) without rods on traditional shingles like slate, tile, composition, metal, etc., is far less expensive than the European approach, at 12” on center (30 guards per square). Even on synthetic shingles (the ones that incorporate Polyolefin plastic), the Fusion-Guard system with rods is less expensive to purchase, faster to install and requires half as many penetrations in your otherwise “perfectly installed’ roof.
Pad or Pipe? The Choice is Yours
Pad or pipe? The choice is yours. Both seem to perform well in the conditions tested this year. When Fusion-Guard pads are used, you can add optional rods to either layout at any time.
I’m always open to reader comments and/or questions. If you have one you’d like to ask, feel free to email me directly at brian@alpinesnowguards.com. Alternatively, you can ask your question in the comments section of this post.
We look forward to sharing further results with you as they become available.
Brian Stearns
President & Founder, Alpine SnowGuards
![]()
We keep snow in its place
888.766.4273
![]()
![]()
![]()
![]()
![]()
![]()
Sign up to start using our Snow Guard Calculator for an immediate layout and project pricing! Now, you can even ORDER ONLINE!
Subscribe to our monthly newsletter and keep up on the latest industry and Alpine news, products, and upcoming events!
Alpine SnowGuards designs, engineers, and manufactures snow management systems from our facility in Morrisville, VT. We work closely with leading roofing contractors, engineering firms, developers, solar installers and roofing manufacturers to ensure we deliver quality products that do what we say they’ll do. Alpine SnowGuards can help a building qualify for LEED® credits.